Serial booking
This is how you create a Serial booking via the menu:
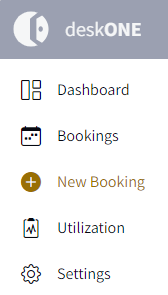
1. Click on "New booking" in the menu.
2. Then select what you would like to book: ‘Desk’, ‘Meeting room’, ‘ Parking space’, ‘Vehicle’ or ‘Object’. All bookable elements that match your selection will then be displayed on the floor plan. If you do not select an element at this point, all bookable elements will be displayed by default.
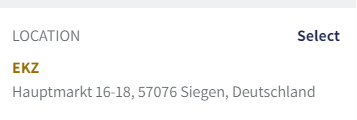
3. Select the "Location" for which you would like to make your serial booking.
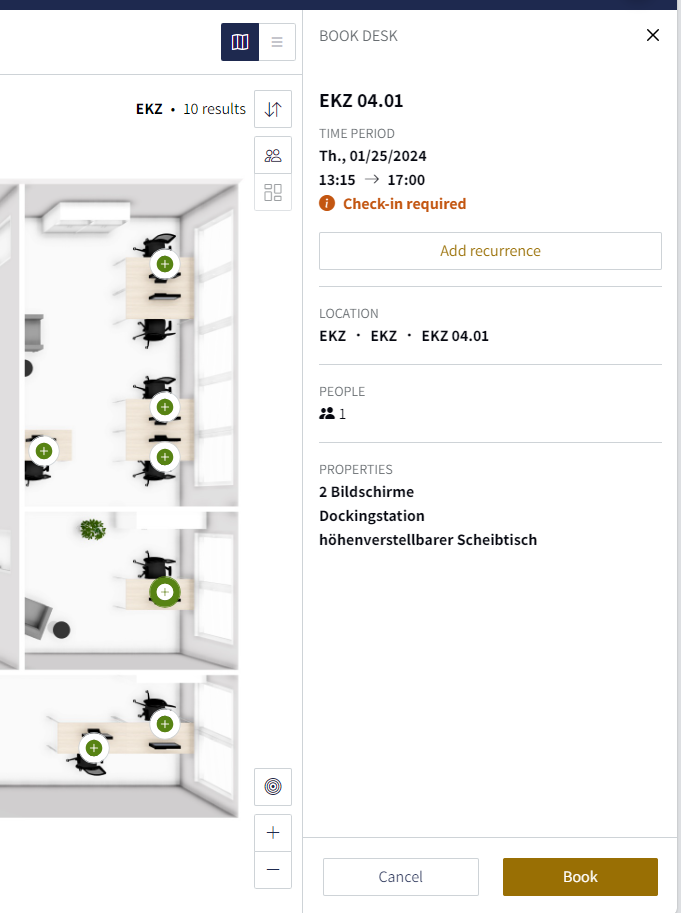
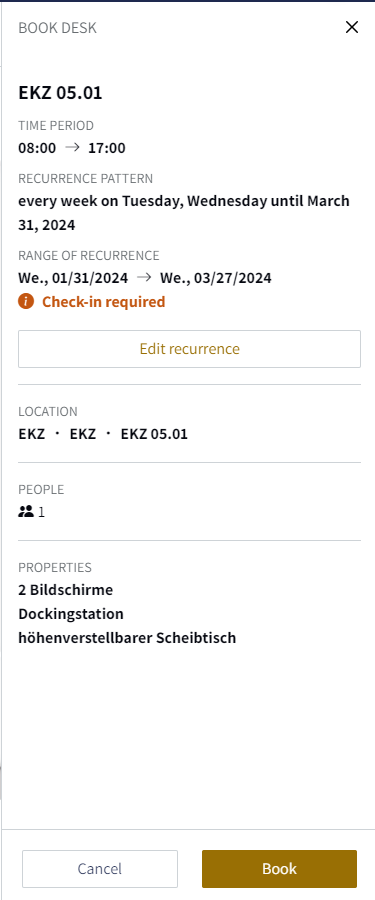
4. In the graphical overview (floor plan), select the element for which you want to create a series. In the example below, a desk has been selected. To the right of the floor plan, a summary opens after your selection, in which you can access the series booking via the ‘Add recurrence’ button.
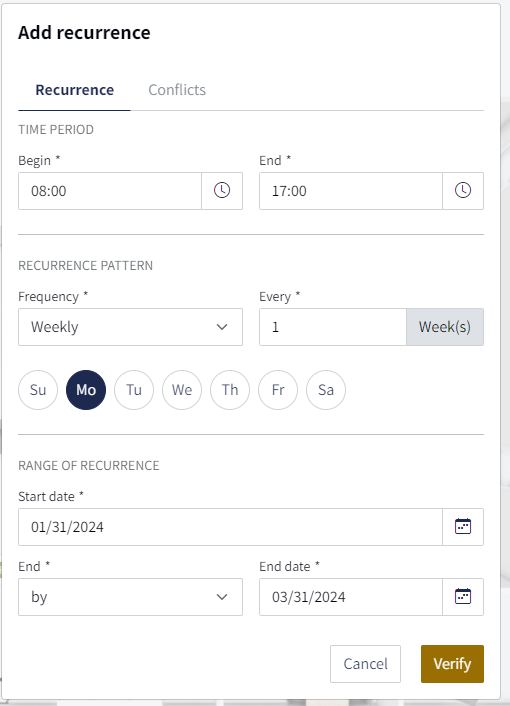
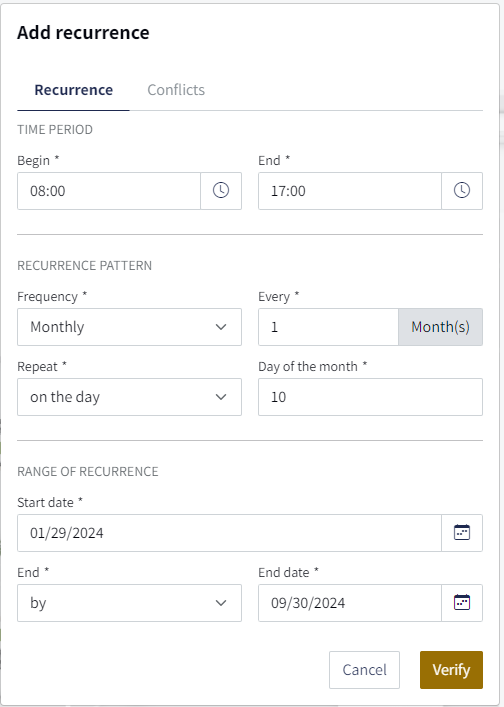
5. Click on "Add recurrence" to open a pop-up. There you can make the necessary settings for your serial booking.
6. First enter your working hours for a desk booking, the meeting duration for a meeting room booking and the duration for which you require the resource for a parking space, vehicle or object. You set this under ‘Time Period’ via ‘Begin’ and ‘End’.
7. Then select your "recurrence pattern" "weekly" or "monthly" under "Frequency":
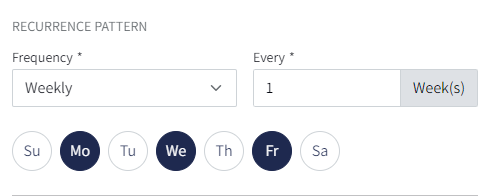
a. Weekly: Choose whether you would like to book your desk or meeting room every week, every two weeks, etc. Then select the days on which you would like to book the desk or meeting room. For example, you can book a desk in the office every week on Monday, Wednesday and Friday.
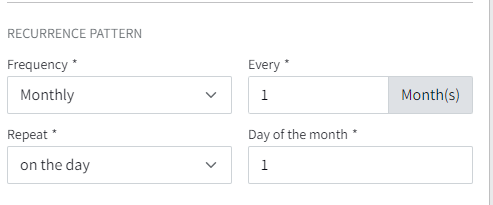
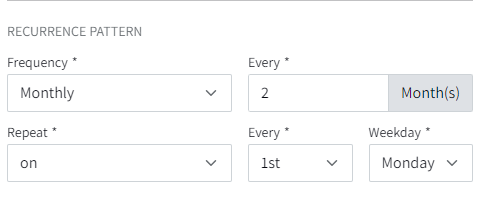
b. Monthly: Different recurrence patterns are possible for the monthly frequency:
a)
To read: "monthly frequency every month on the first working day"
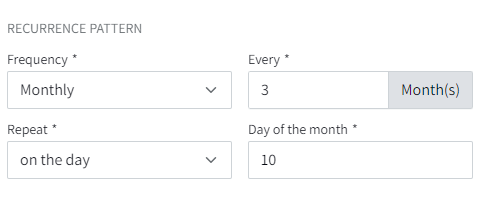
or
To read: "monthly frequency, every third month on the 10th day of the month"
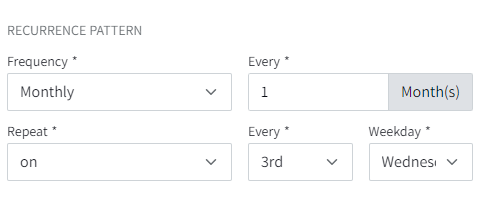
b)
To read: "Monthly frequency, every month on the third Wednesday"
or
To read: "Monthly frequency, every second month on the first Monday."
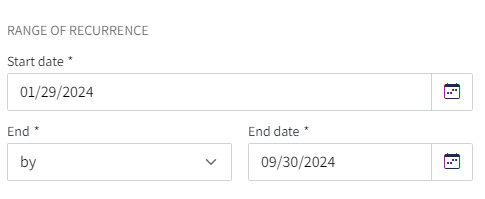
7 Finally, specify the "Range of recurrence" by entering the "Start date" and when the series ends ("End" and "End date").
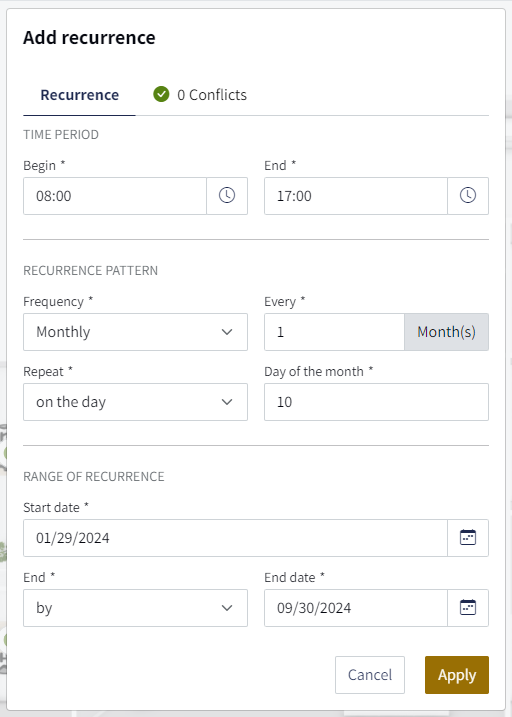
8. Before you can book your series, you need to check it. To do this, click on "Verify". If there are no conflicts, simply click on "Apply".
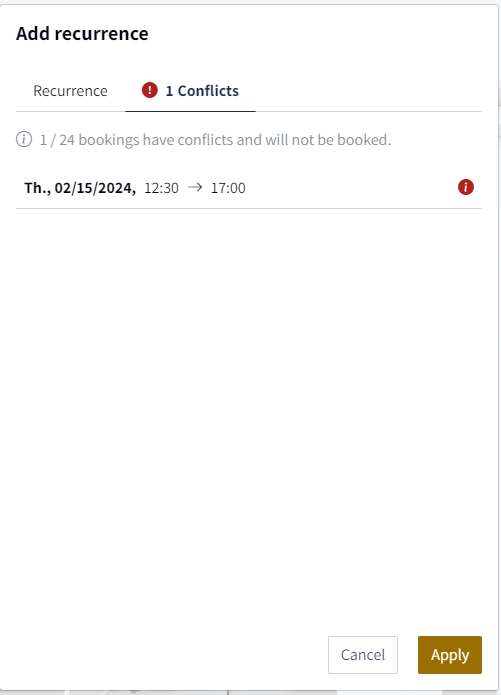
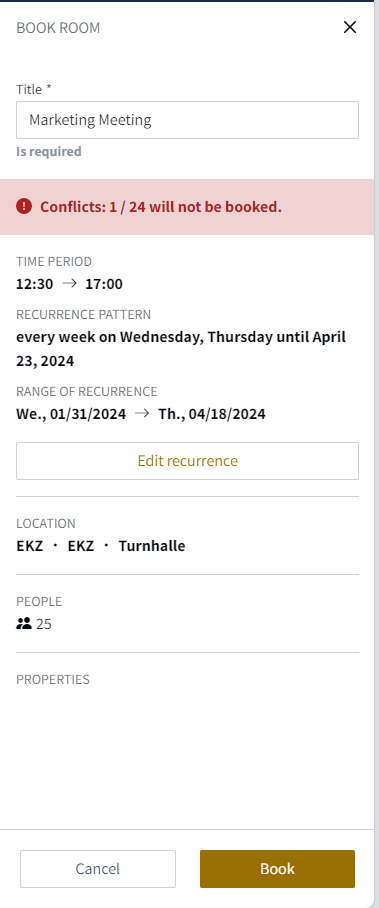
9. If "conflicts" occur during your series booking, all affected appointments will be displayed. If you click on "Apply", appointments with conflicts will not be booked. In the example below, this would mean that 1 out of 24 appointments is not booked. For this, another room or desk would have to be booked subsequently, for example.
10. Check in the summary whether everything is set correctly and then click on "Book".
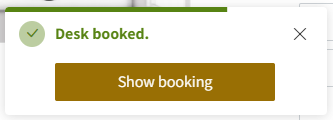
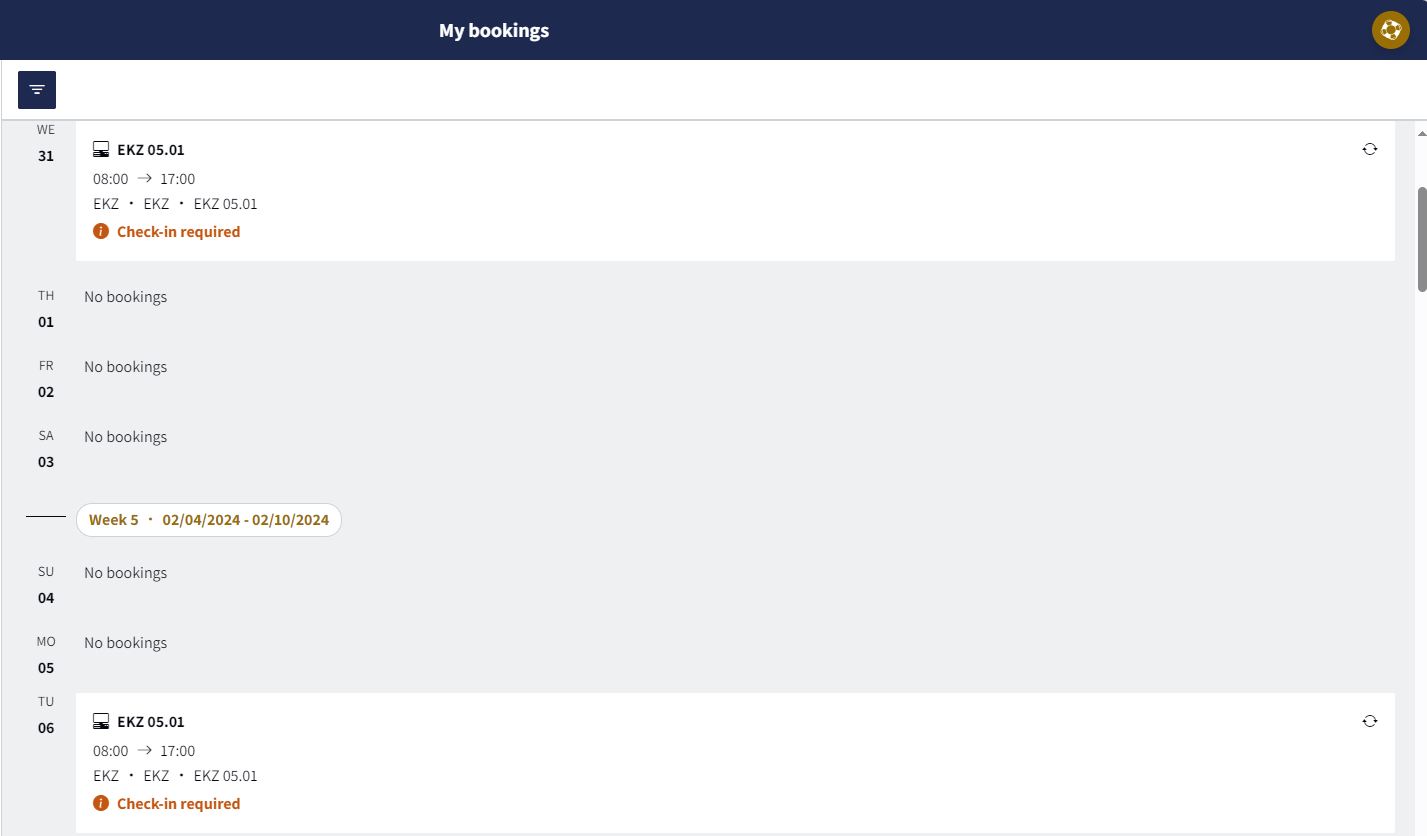
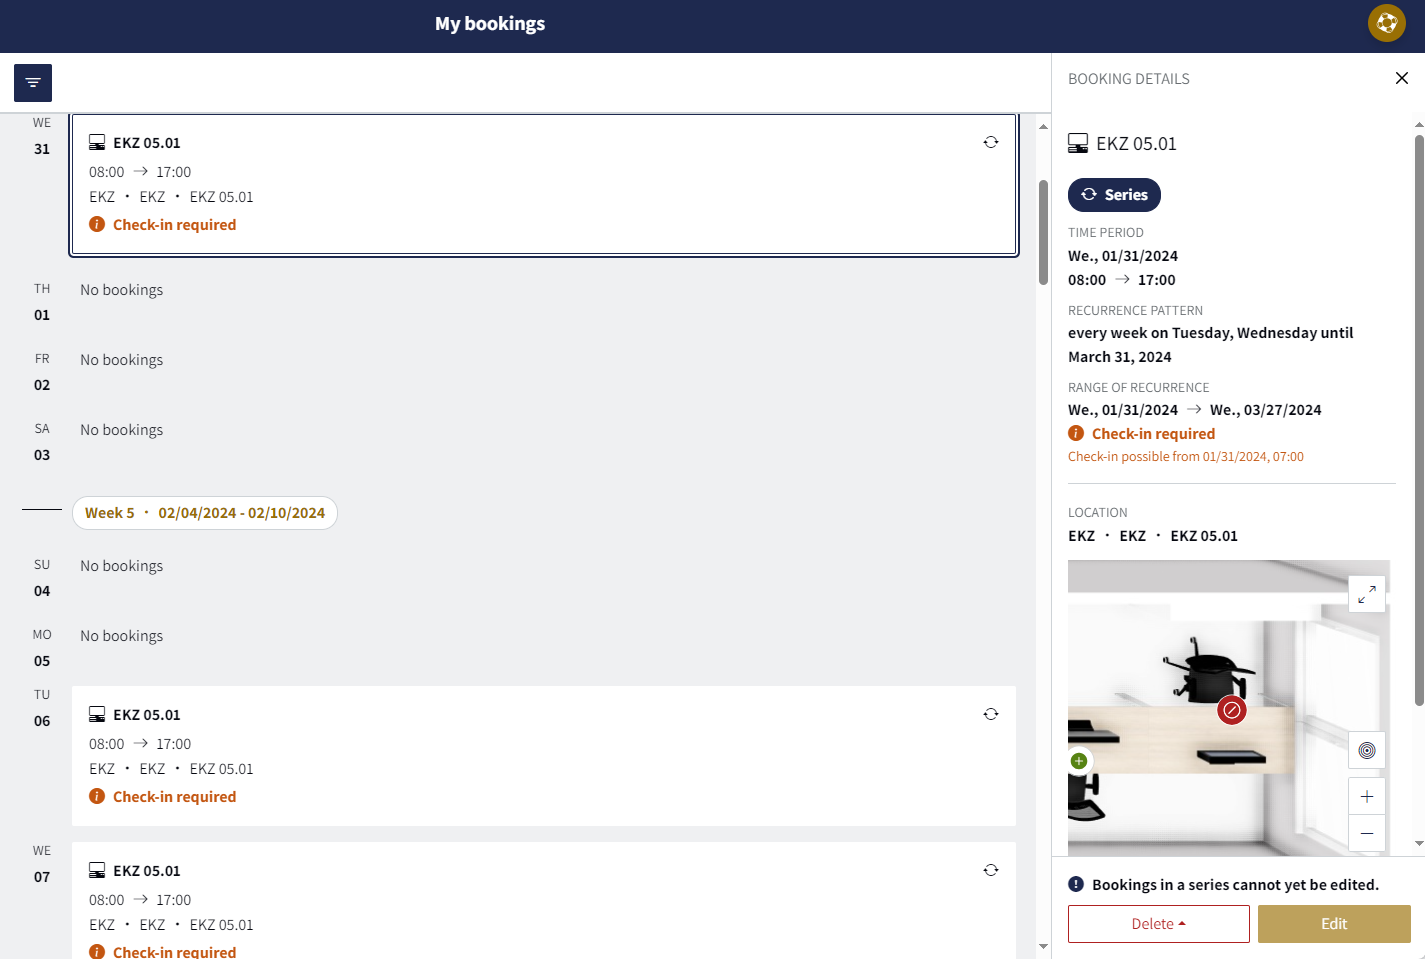
11. Click on "Show booking" to go directly to your booking view "My bookings"
12. By clicking on a booking, you can also "Edit" or "Delete" it.

