Check-in
Admins can assign the "Check-in" function to desks, meeting rooms, parking spaces, vehicles and objects. This means that bookings need to be confirmed within a defined time window. If this time window expires, the booked elements are made available again and can be booked by other users.
Check-ins can only be activated by a user with the "Manager" or "Owner" role.
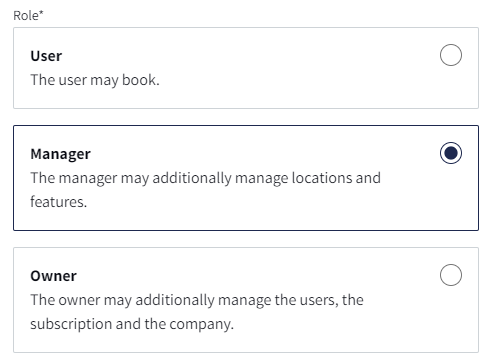
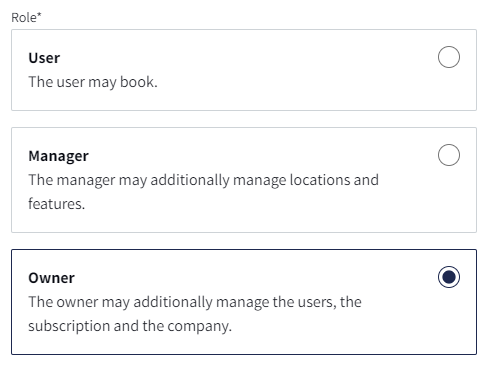
You can assign the roles of the users as "Owner" as follows:
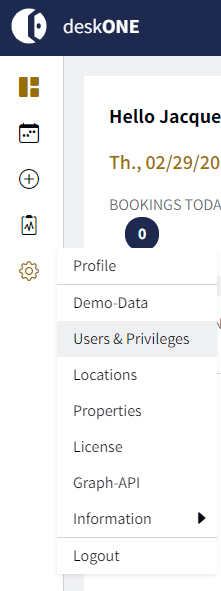
1. Go to "Settings" in the menu and select the item "Users & Privileges"
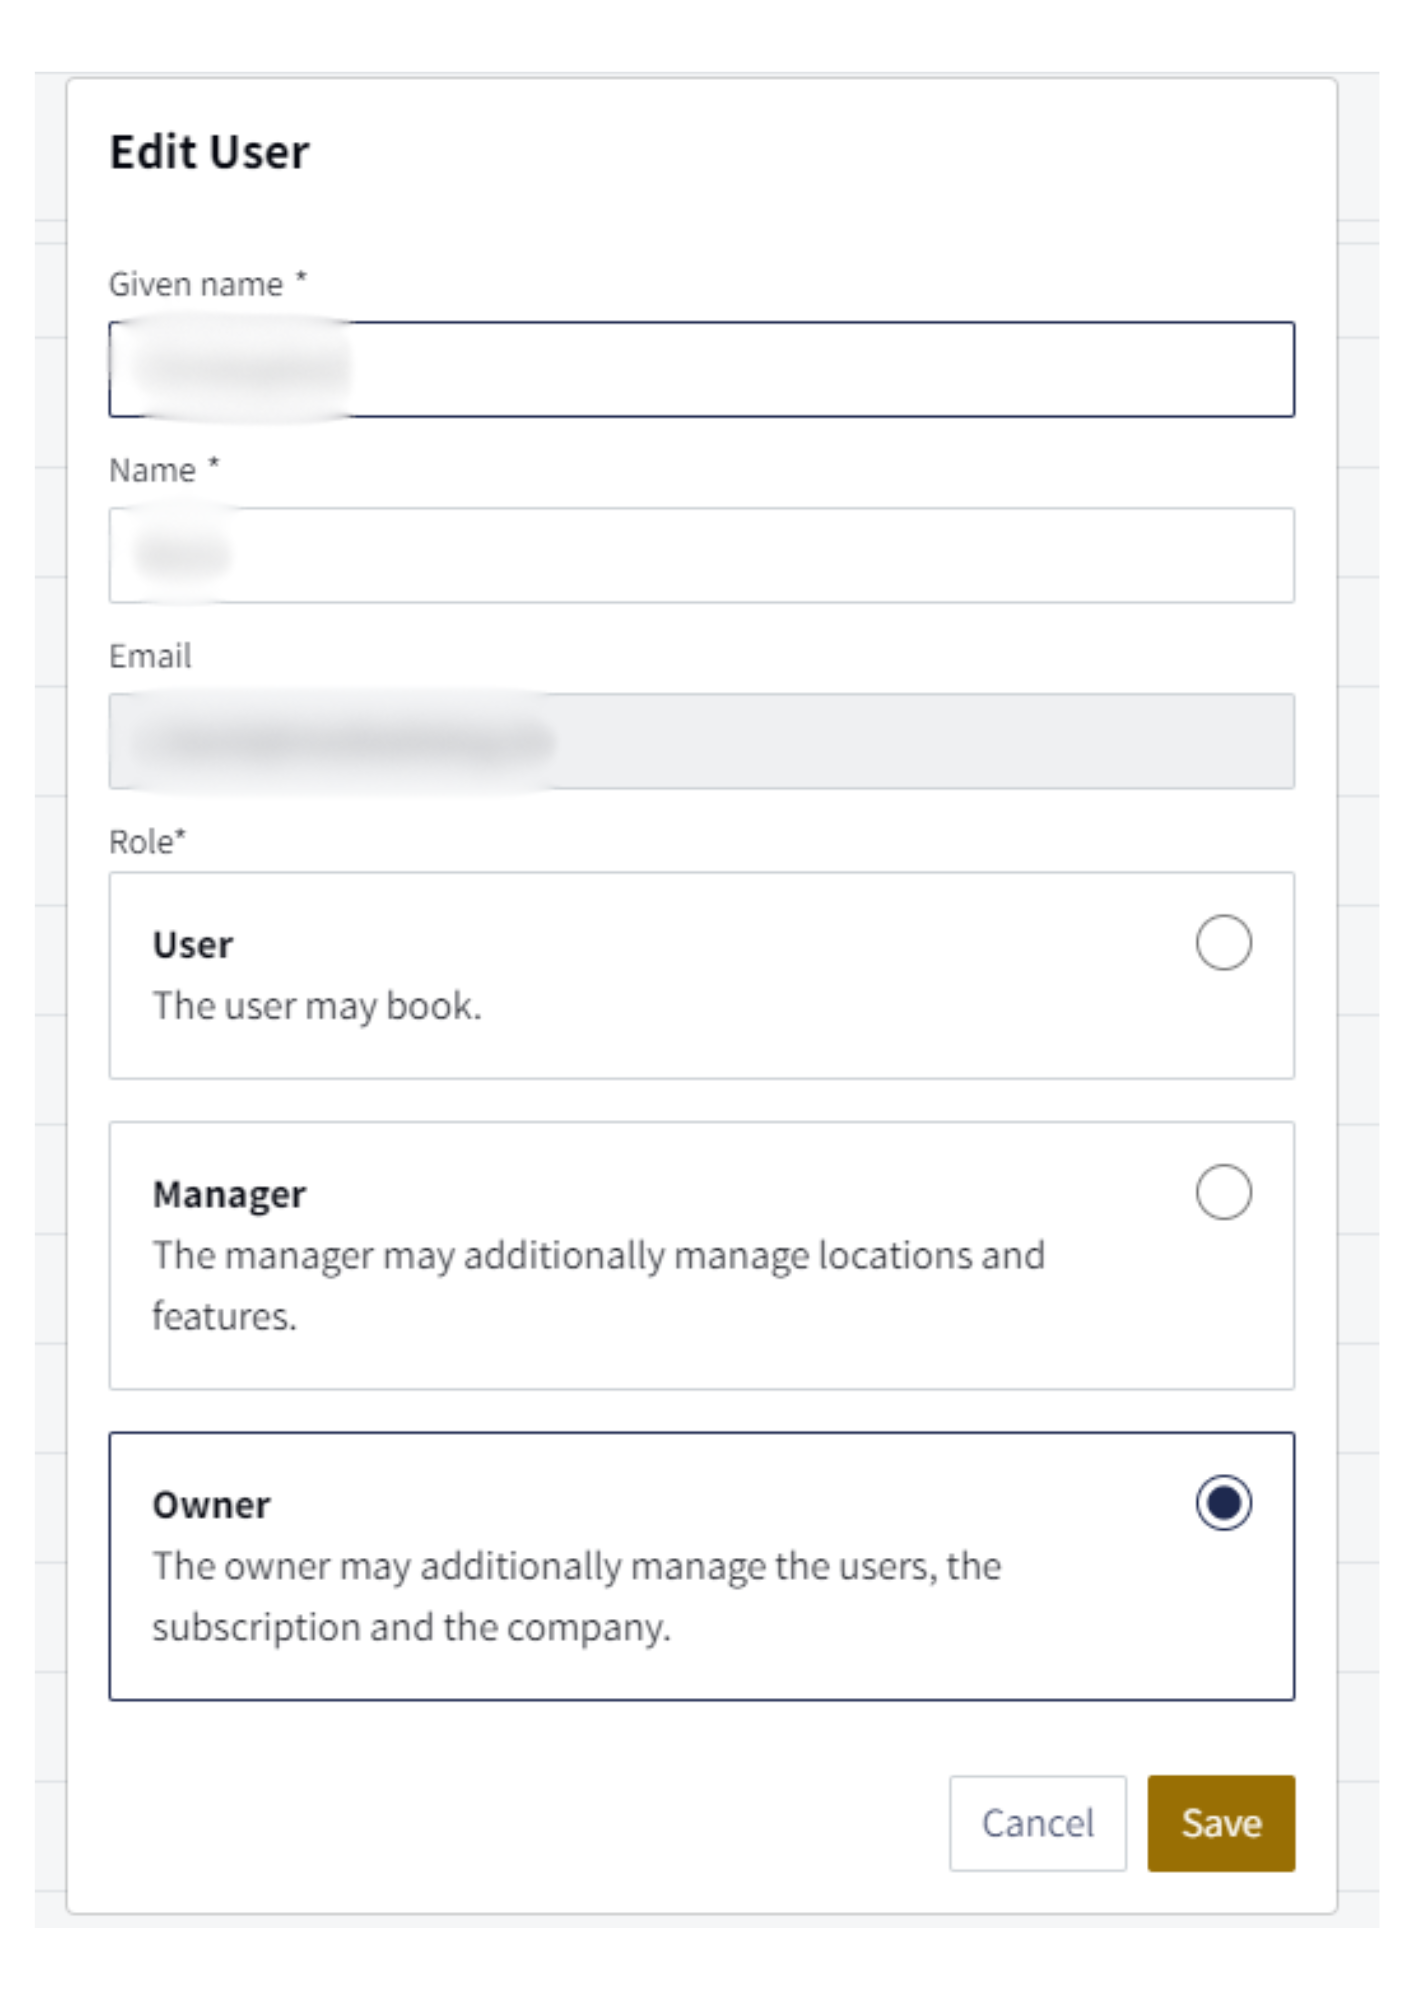
2. Select the user to whom you want to give the necessary authorization and click on the pencil icon.
3. A pop-up opens and you can assign the user the corresponding role "User", "Manager" or "Owner". Then click on "Save".
Activate check-in
To activate the check-in function, a check-in configuration is stored by the admin for each location. To do this, proceed as follows:
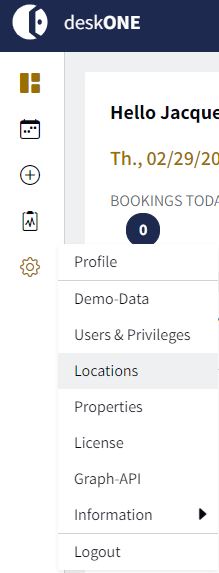
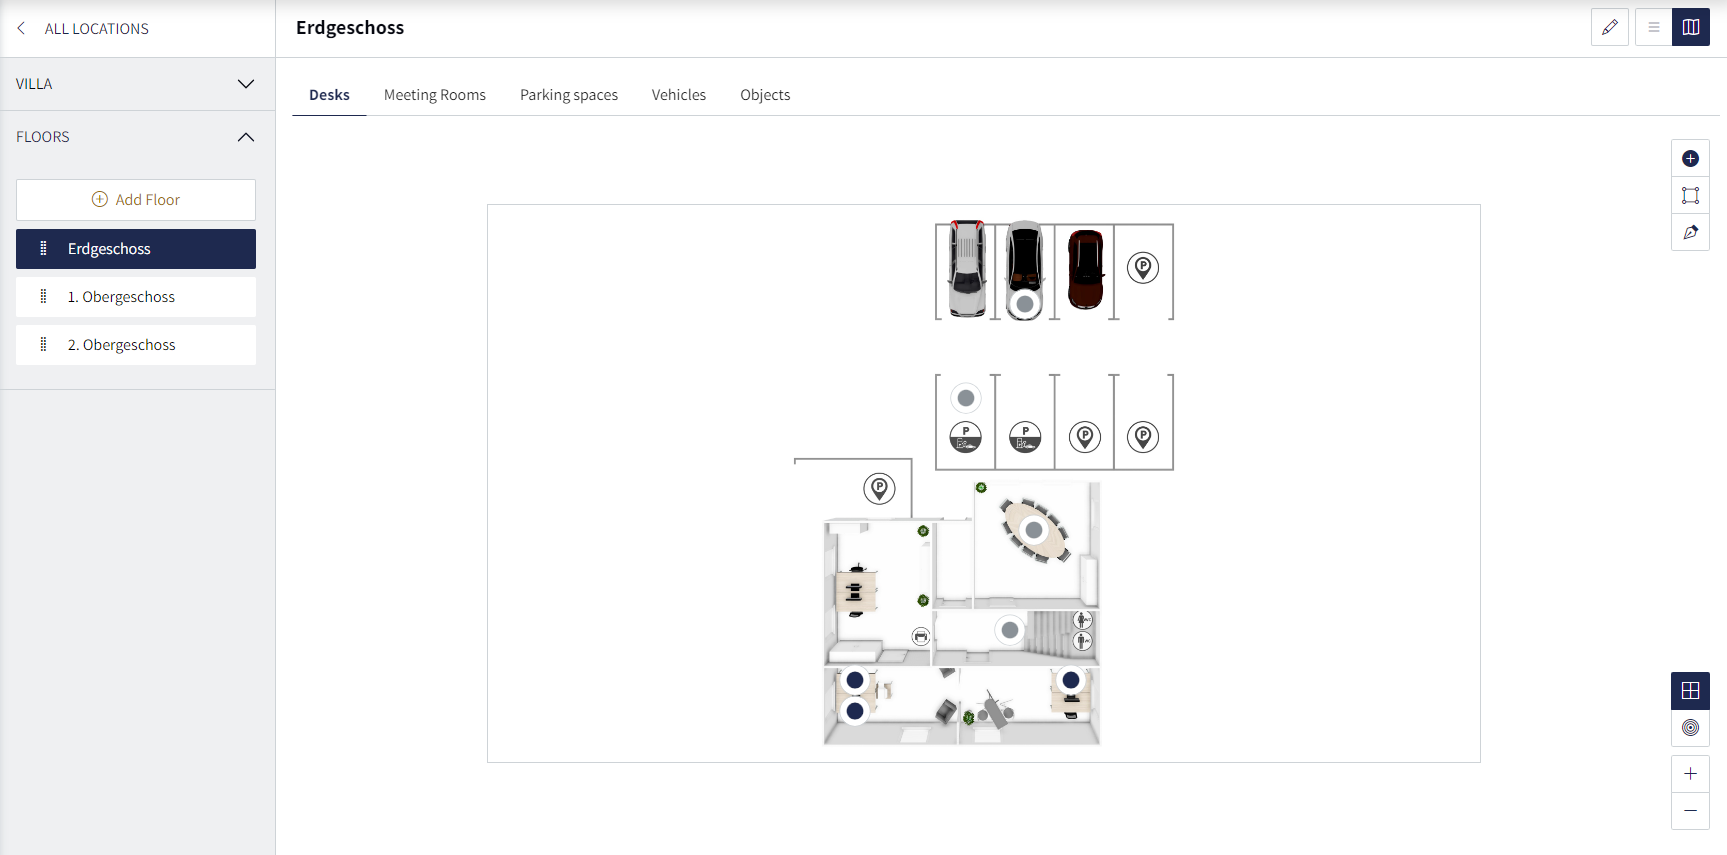
1. Go to "Settings" in the menu and click on "Locations".
2. Select a location for which you want to activate check-ins.
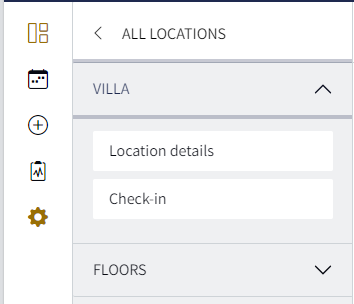
3. Open the drop-down menu for the location and click on "Check-in".
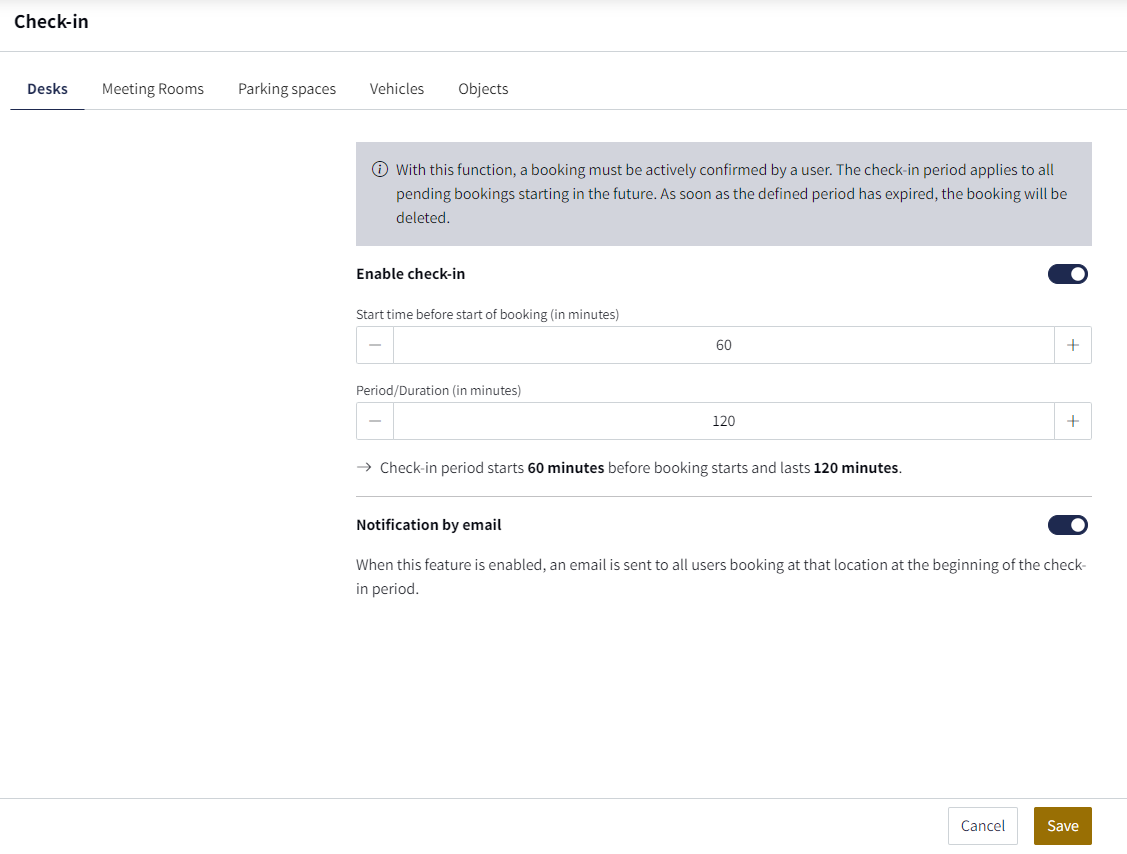
4. Select how many minutes before the start of the booking the users can check in and how long they can check in for in total once the booking period has started. You can also decide whether the users should receive an e-mail that is sent at the start of the check-in period.
Note: You need to define the settings separately for "Desks", "Meeting rooms", " Parking spaces", "Vehicles" & "Objects".

